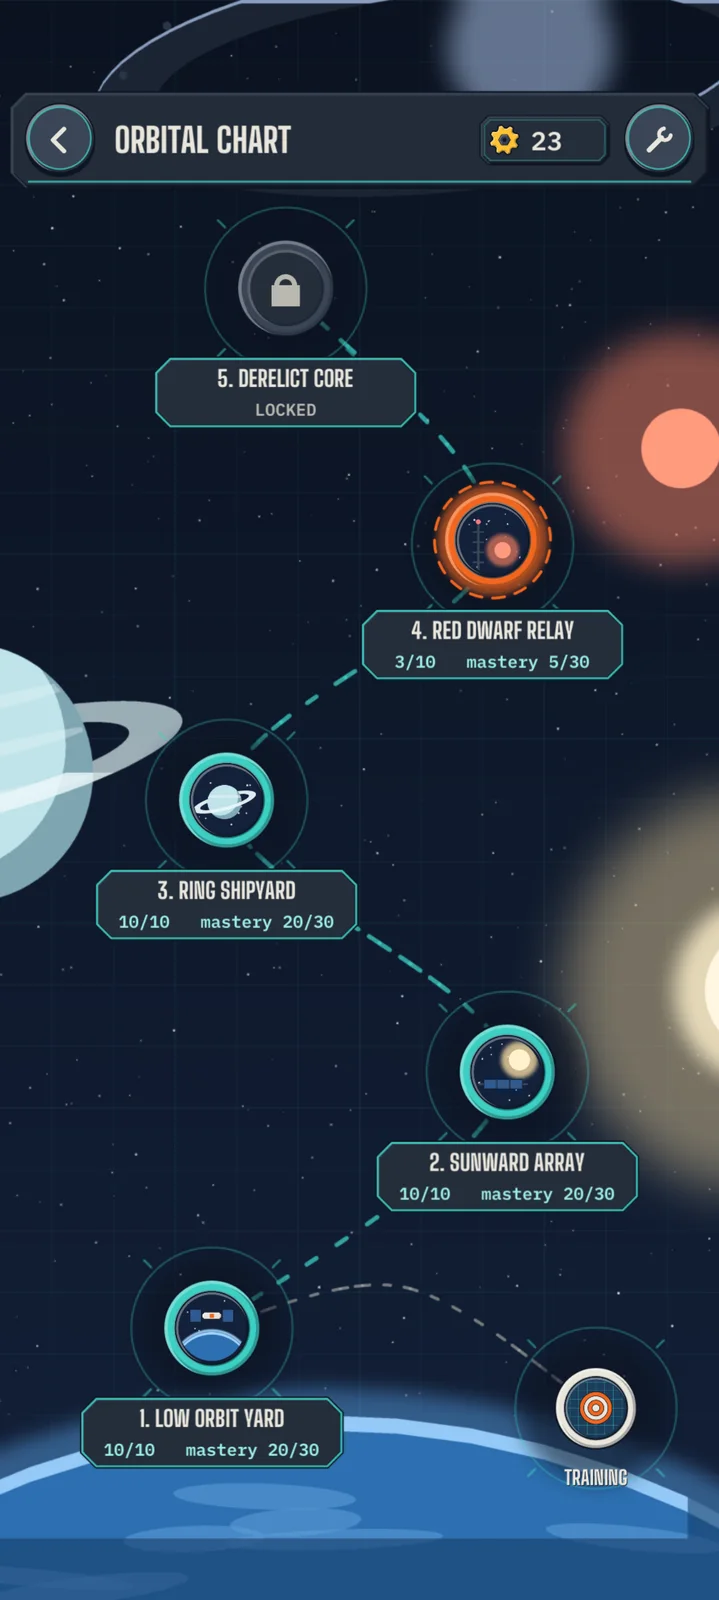
Chapter 01
Low Orbit Yard
Your first shift above the blue planet. Thrust, turn, brake, grab, deliver and park — a short step-by-step tutorial, then girders, crates and a wide-winged satellite.
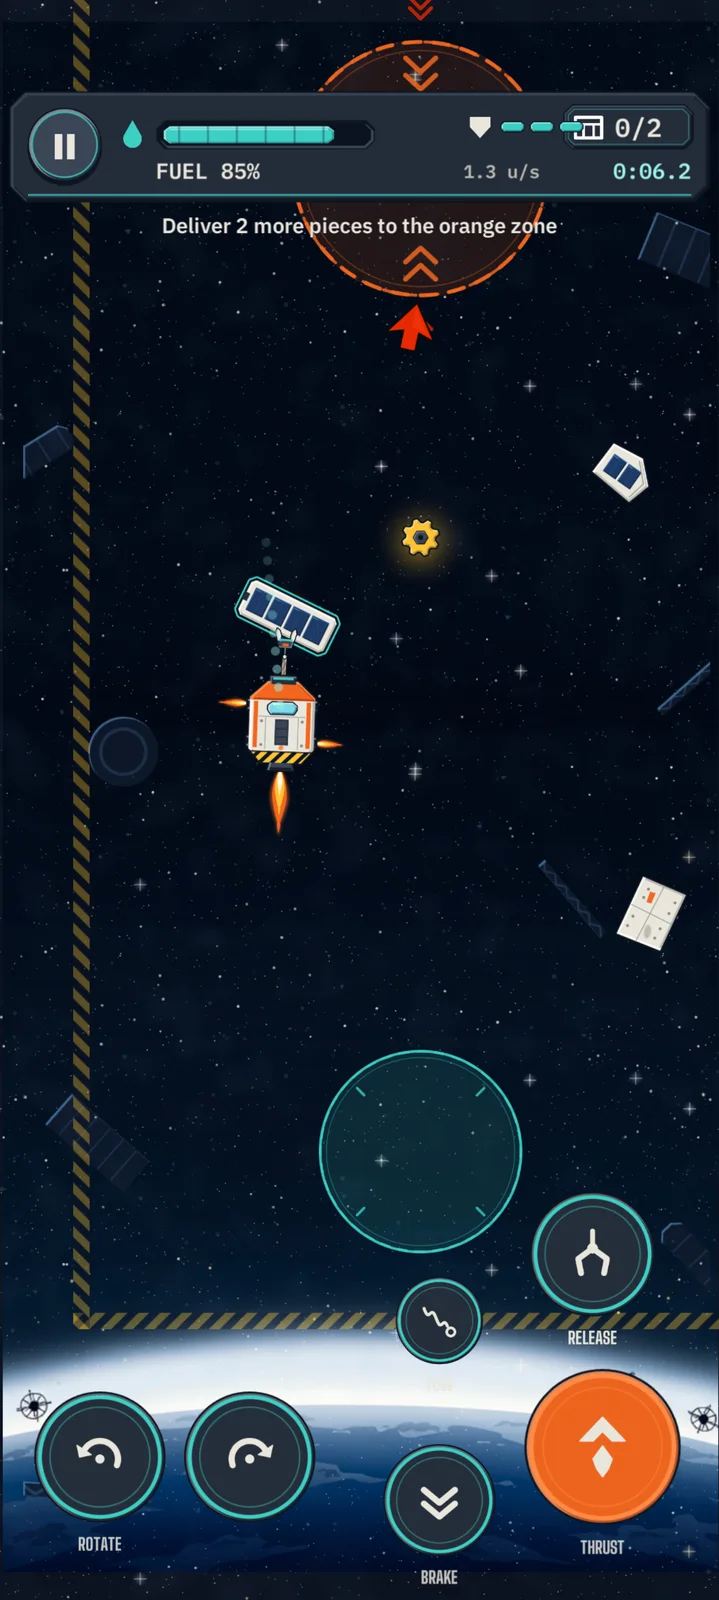
Work order 01 · orbital salvage
Grab the wreckage. Mind the inertia. Park it safe.
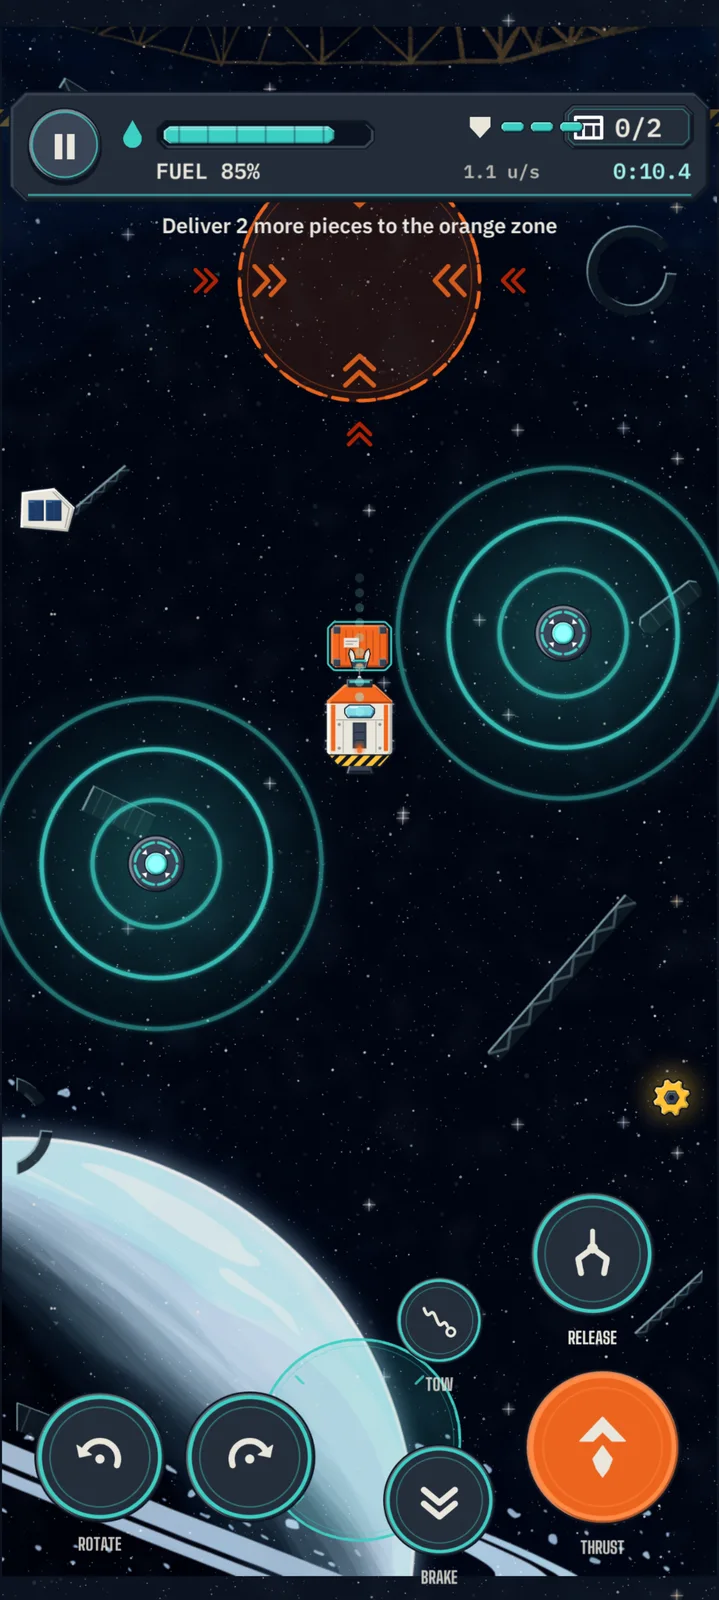
Fly a small orbital salvage tug with real inertia. Grab drifting panels, crates, tanks and reactor cores with the magnet, push or tow them into the drop zone, and park back in your bay — on a limited tank of fuel.
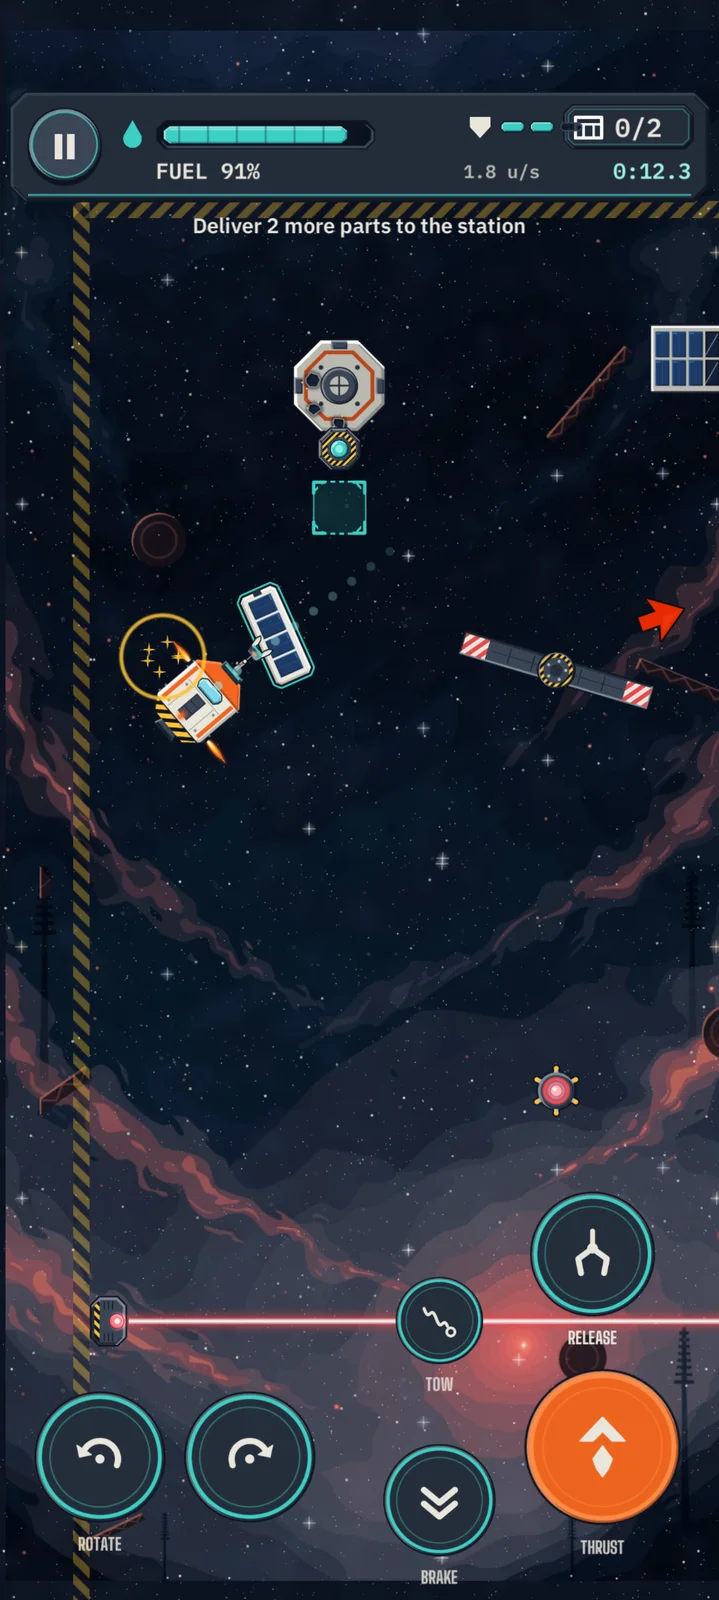
Thrust, rotate and brake. You keep drifting after you let go — coasting is free, burning is not.
A teal ring marks what the magnet can reach. Tap MAGNET: the line reels the piece in and clamps it to the nose.
Push it ahead or let it trail on the tow line. Heavy loads make every turn lazy and every stop long.
Slow the cargo inside the orange zone or fit it into a station socket, then stop inside your teal bay.
Your tug weighs 1. Whatever you hold adds to it — slower acceleration, longer braking, lazier rotation. Hold a long truss off-centre and thrust, and the whole rig starts to turn. That is the puzzle.
| Cargo | Mass (tug = 1) | Behaviour |
|---|---|---|
| Panels | 0.4–0.6 | flutter and drift |
| Crate | 2.0 | solid and steady |
| Truss beams | 1.5–2.2 | long, swing wide |
| Tanks | 1.2–2.0 | round, love to roll |
| Reactor cores | 3.5–4.0 | barely move |
| Glass modules | 0.8–0.9 | crack on a hard knock |
Chapter 01
Your first shift above the blue planet. Thrust, turn, brake, grab, deliver and park — a short step-by-step tutorial, then girders, crates and a wide-winged satellite.
Chapter 02
Reactor cores three to four times your mass, pulse pads that kick cargo up the lane, tether posts to swing on and the first station repairs.
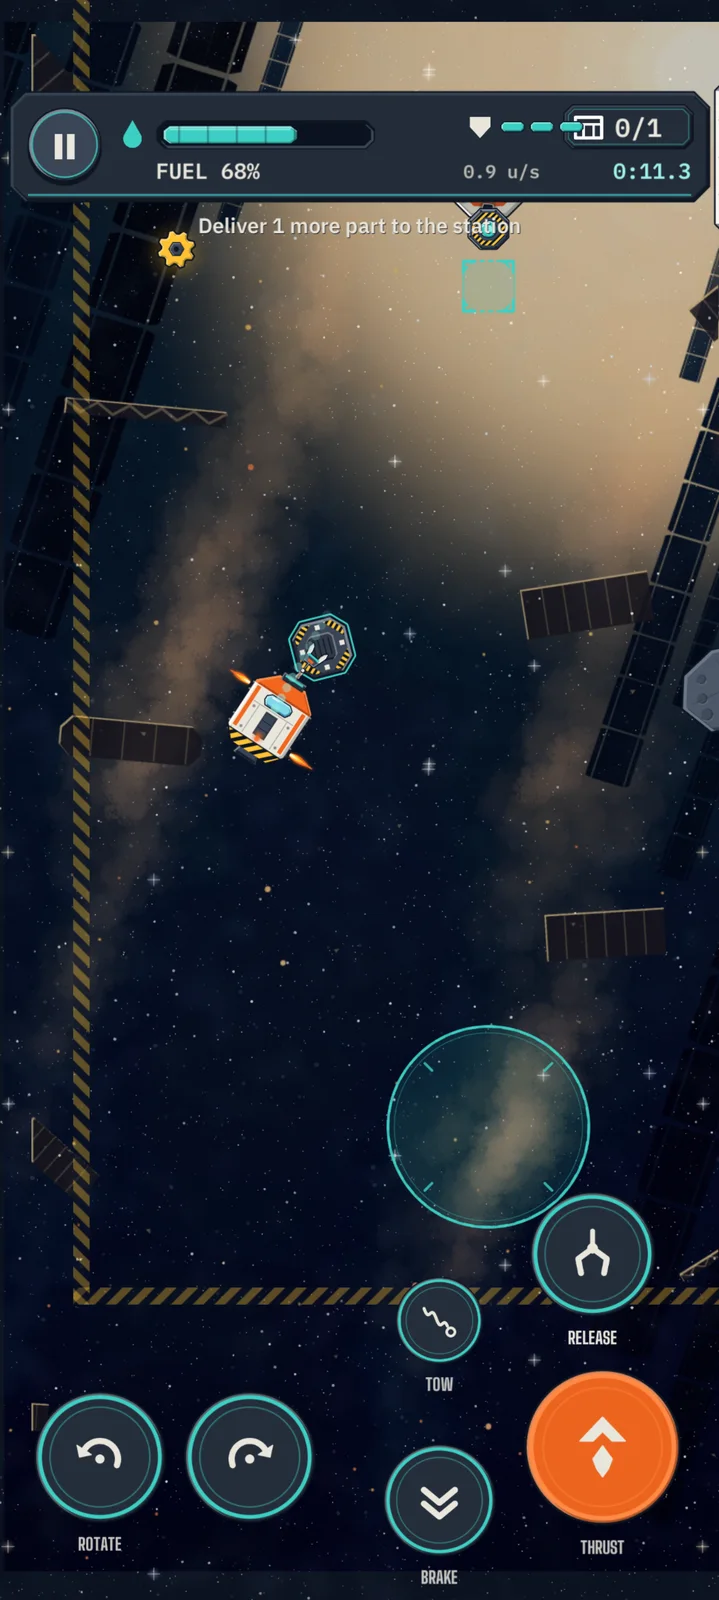
Chapter 03
Gravity wells pull everything toward their core, repulsors push it away, and the glass sensor pods crack if you bump them.
Chapter 04
Moving hazards: patrol drones on fixed routes, cutting lasers on a timer, spinning antenna spars and old proximity charges.
Chapter 05
Bring a dead station back to life: fit batteries, tanks, panels and lenses into the sockets of damaged modules, one by one.
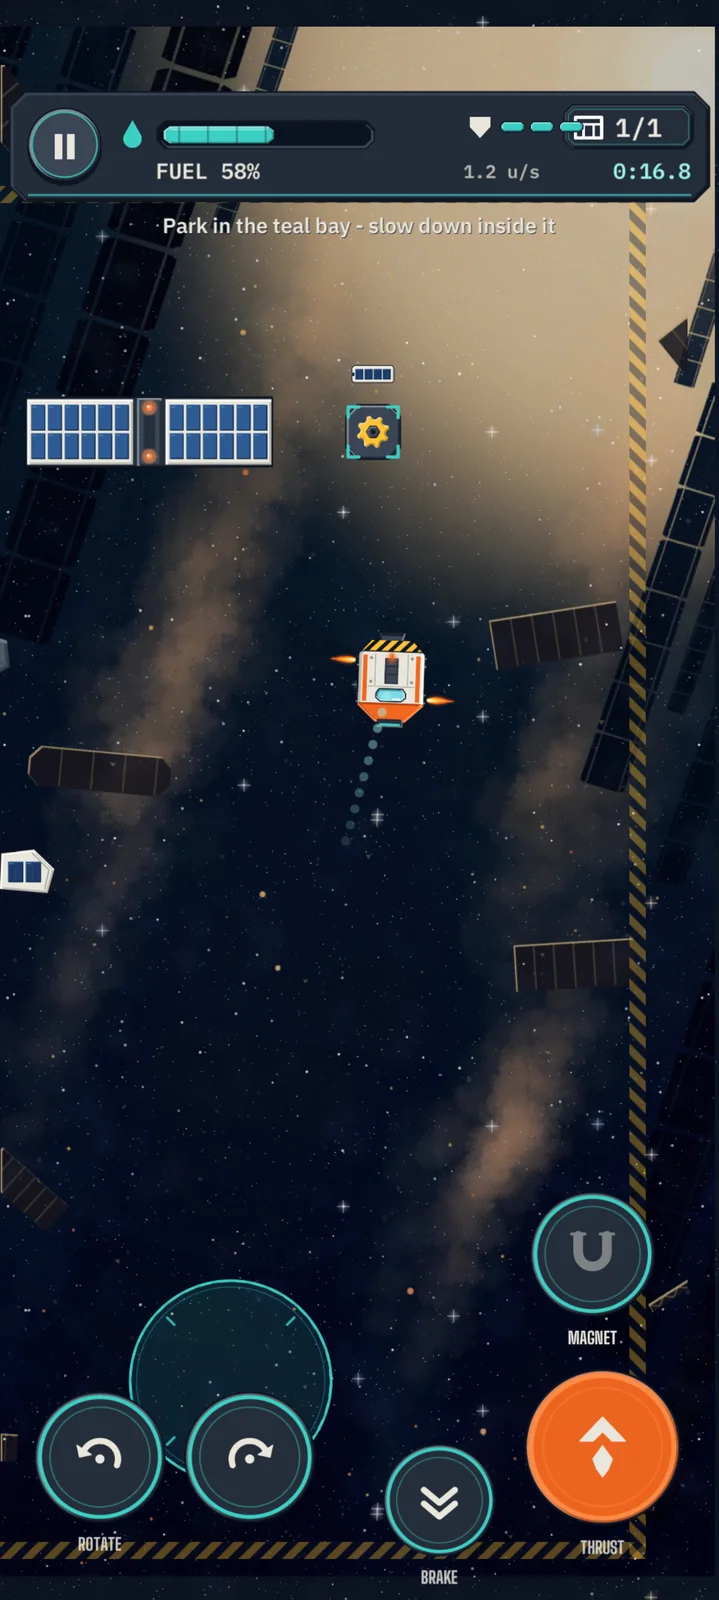
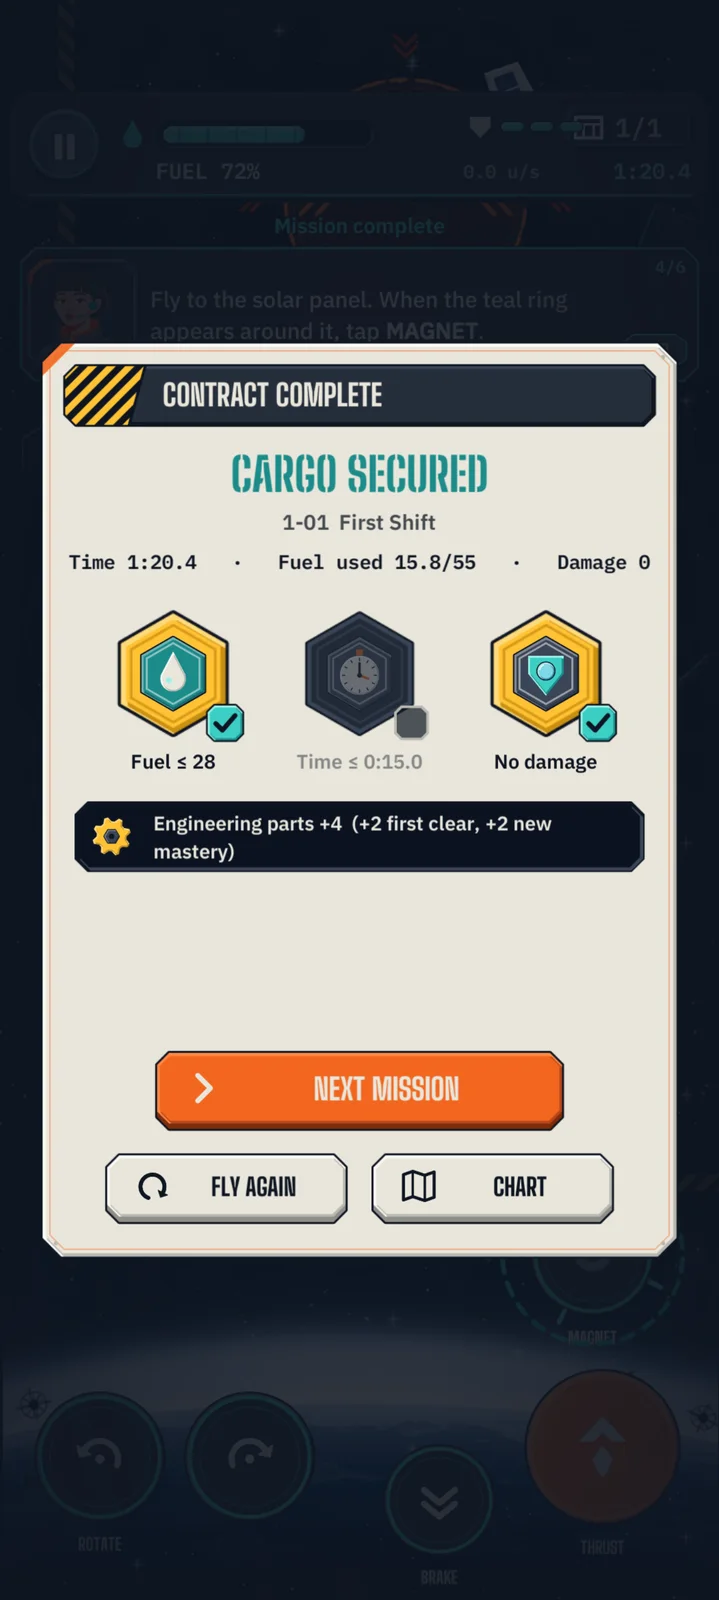
Use little fuel, finish fast, take no damage. Each goal is optional and measured against the stock tug.
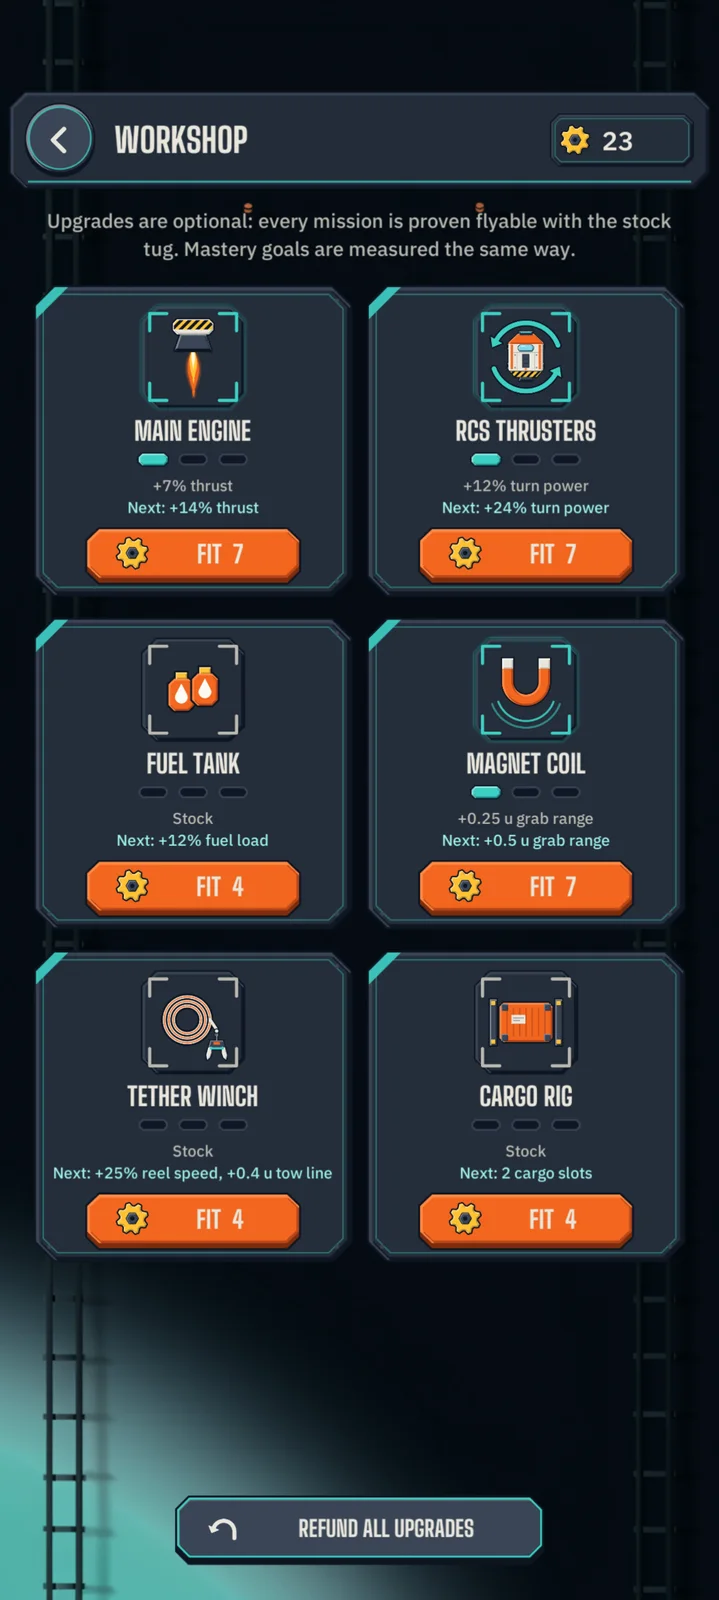
Parts come from first clears, mastery goals and the gears floating in the missions — always the same amount, never random. Spend them on main engine, rcs thrusters, fuel tank, magnet coil, tether winch, cargo rig. Upgrades are optional: every mission can be finished with the stock tug.
A free-flight range with every kind of cargo, a well, a repulsor, a pulse pad and tether posts — infinite fuel if you like. Choose button or stick controls, left-handed layout, control size, spin stabilizer and drift preview.